-
- No Comments
- January 14, 2026
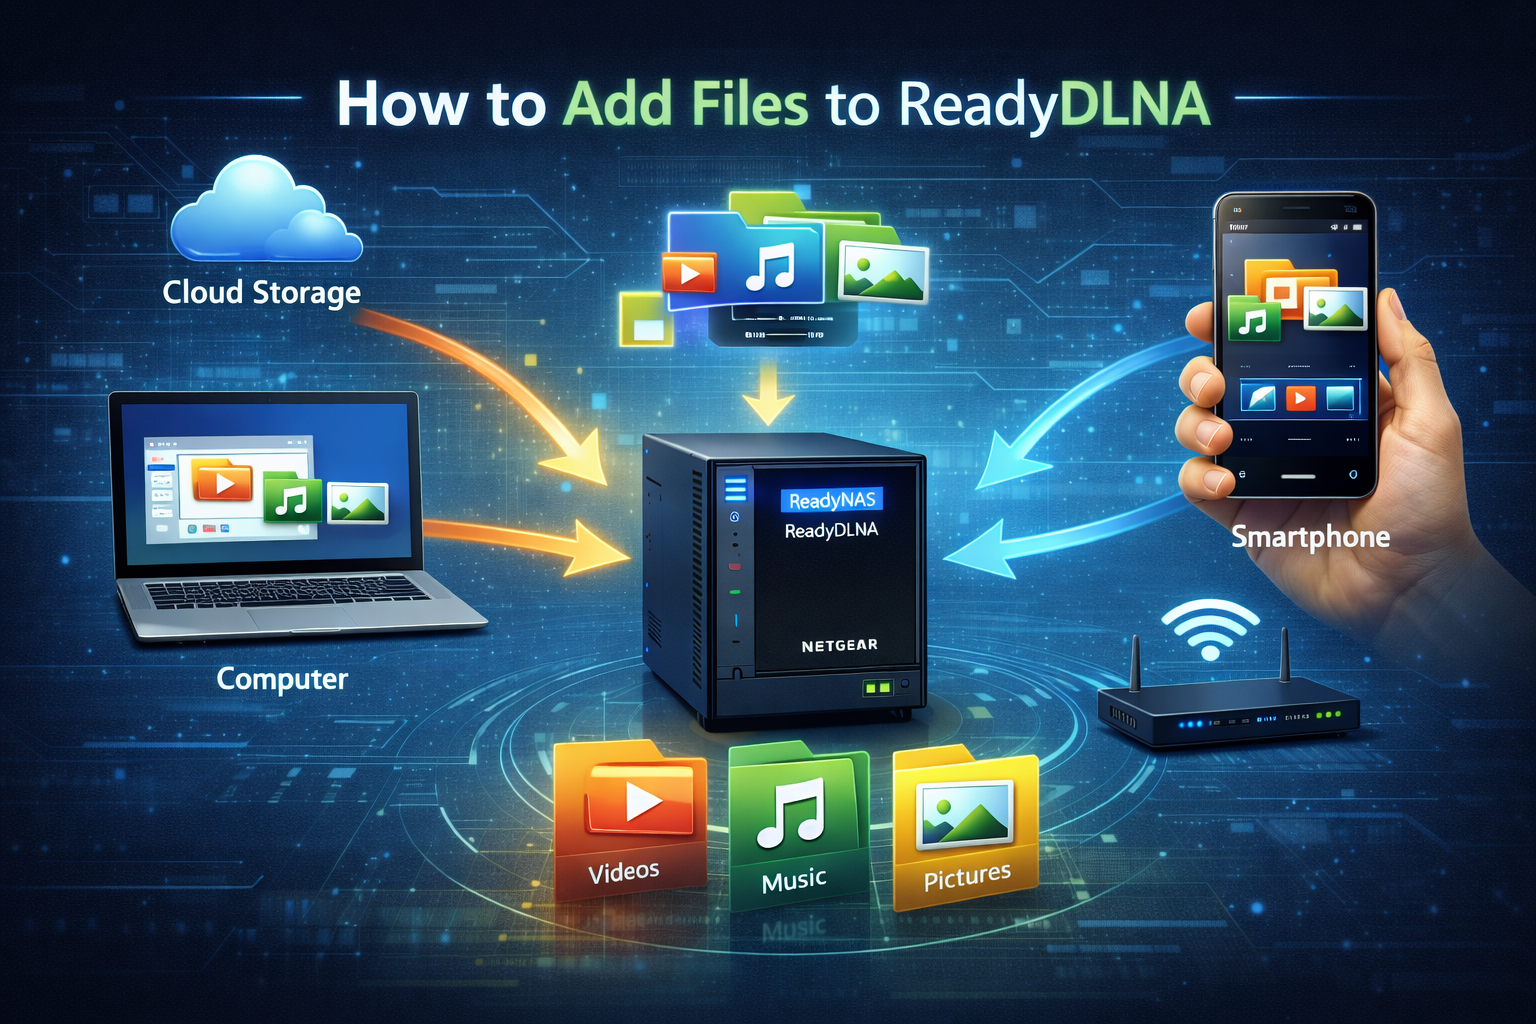
How to add files to ReadyDLNA
1. Introduction
ReadyDLNA is NETGEAR’s built-in media server for ReadyNAS devices, designed to make streaming your personal content effortless. Whether it’s movies, music, or photo libraries, ReadyDLNA allows you to store everything in one place and stream it instantly across your home network. This guide will walk you through exactly how ReadyDLNA works and how to prepare your media so it shows up correctly on your devices, without confusion or guesswork.
This guide is specifically for ReadyNAS users who want to stream content to Smart TVs, gaming consoles like Xbox, or DLNA-compatible mobile apps. If you’ve ever added files to your ReadyNAS only to find they don’t appear on your TV or media player, this walkthrough is built to solve that problem.
2. What Is ReadyDLNA and How It Works
ReadyDLNA is a built-in DLNA (Digital Living Network Alliance) media server included with NETGEAR ReadyNAS systems. Its role is simple: scan your media folders, index supported files, and make them available to compatible devices on the same network for streaming no extra software required.
Supported Media Types
ReadyDLNA is designed to handle the most common media formats used in home entertainment setups, including:
- Videos (movies, TV shows, clips)
- Music (audio libraries and playlists)
- Photos (image collections and albums)
These files must be stored in enabled ReadyNAS shares for ReadyDLNA to detect them.
Compatible Devices
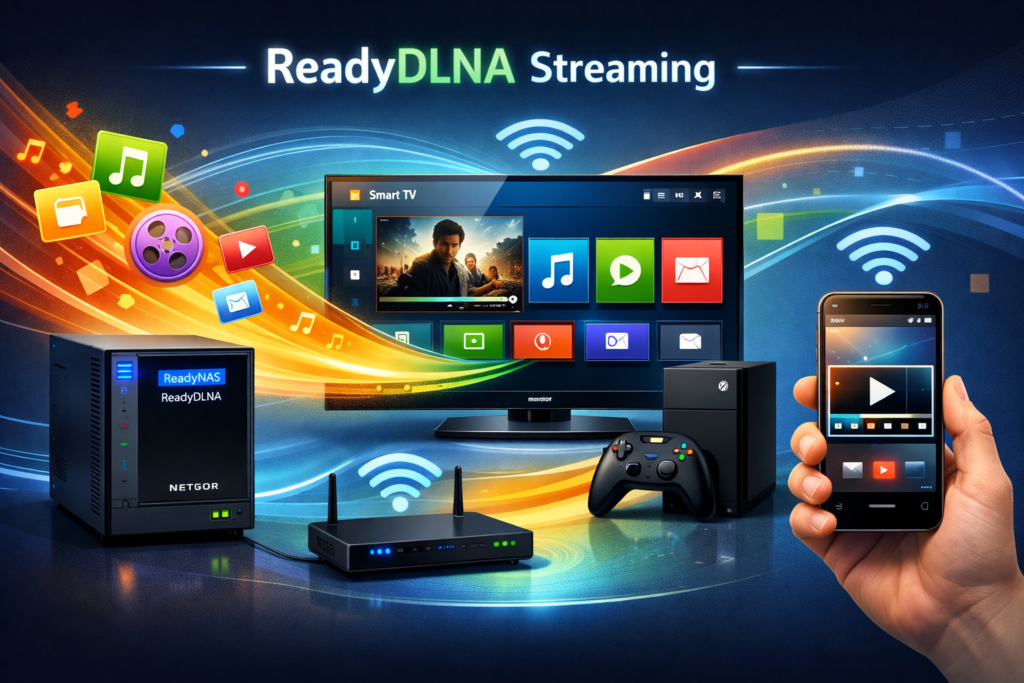
Once active, ReadyDLNA can stream media to a wide range of DLNA-certified devices, including:
- Smart TVs from major brands
- Xbox consoles and other DLNA-enabled gaming systems
- Mobile devices using DLNA media player apps
As long as the device is connected to the same network, it can browse and play content from your ReadyNAS.
How ReadyDLNA Scans and Serves Media
ReadyDLNA works by scanning specific ReadyNAS shares that you allow in its settings. When media files are added to these shares, the service indexes them and organizes them by type video, audio, or pictures.
By default, ReadyDLNA scans folders recursively, meaning files inside subfolders are included automatically. However, new files may not appear instantly unless a rescan is triggered, which ensures your latest media is visible on all connected DLNA clients.
3. Prerequisites Before Adding Files
Before you start adding media to ReadyDLNA, it’s important to make sure everything is set up correctly. A few quick checks upfront can save you from missing files, failed scans, or media not showing up on your devices.
First, ensure your ReadyNAS device is powered on and connected to your local network. The NAS must be accessible from the same network as your TV, console, or mobile device for DLNA streaming to work properly.
Next, you’ll need admin access to the ReadyNAS dashboard. This is required to manage services, create or modify shares, and control ReadyDLNA settings. Without admin privileges, you won’t be able to enable scanning or adjust media folders.
Your media files should already be organized and ready. While ReadyDLNA can scan deep folder structures, clean and logical organization such as separating videos, music, and pictures helps with faster indexing and easier browsing on DLNA clients.
Finally, confirm you have network access to the ReadyNAS, either by entering its IP address directly in a browser or by signing in through ReadyCLOUD. This connection is essential for uploading files, managing shares, and enabling the ReadyDLNA service.
4. How to Enable the ReadyDLNA Service
To begin streaming media, ReadyDLNA must be enabled from the ReadyNAS admin interface. This process only takes a few minutes.
Start by accessing the ReadyNAS admin panel. You can do this by entering the device’s IP address into your web browser or logging in through readycloud.netgear.com.
Once logged in, navigate to System Settings and open the Services section (on some firmware versions, this may appear as Settings > Services). This area lists all available services running on your ReadyNAS.
Look for the ReadyDLNA icon in the services list. If the service is disabled, toggle it on to activate DLNA streaming.
After enabling ReadyDLNA, click Apply or Save to confirm the changes. The service will start running in the background, preparing your ReadyNAS to scan media folders and stream content to compatible devices on your network.
5. How to Add Files to ReadyNAS Shares
ReadyDLNA does not pull media directly from your computer. Instead, it scans specific folders (shares) on your ReadyNAS. To make your files available for streaming, they must be placed inside these shares and properly organized.
5.1 Using Default Media Shares
Most ReadyNAS systems come with default media shares already created and optimized for DLNA use. These are the easiest place to start.
- Music
Use this share for audio files such as songs, albums, or playlists. Organizing music by artist or album helps DLNA players display content cleanly. - Pictures
This share is intended for photos and image collections. Subfolders for events, dates, or albums work well and are fully supported by ReadyDLNA. - Videos
Store movies, TV shows, and video clips here. You can create subfolders for categories or series, and ReadyDLNA will scan them automatically.
If these shares already exist, simply copy your media files into the appropriate folders to make them eligible for DLNA scanning.
5.2 Creating New Shares for Media
If you prefer custom organization or need separate folders for specific content, you can create your own media shares.
From the ReadyNAS admin dashboard, go to the Shares section and select New Folder (or equivalent option depending on firmware). Create a new share and set the appropriate permissions.
When naming your folders, use clear, descriptive names and avoid special characters where possible. Logical naming and clean folder structures make it easier for ReadyDLNA to index files and for DLNA clients to display them correctly.
Once created, these new shares can be enabled later within ReadyDLNA settings.
5.3 Upload Methods
There are multiple ways to upload files to your ReadyNAS shares. You can choose the method that best fits your workflow.
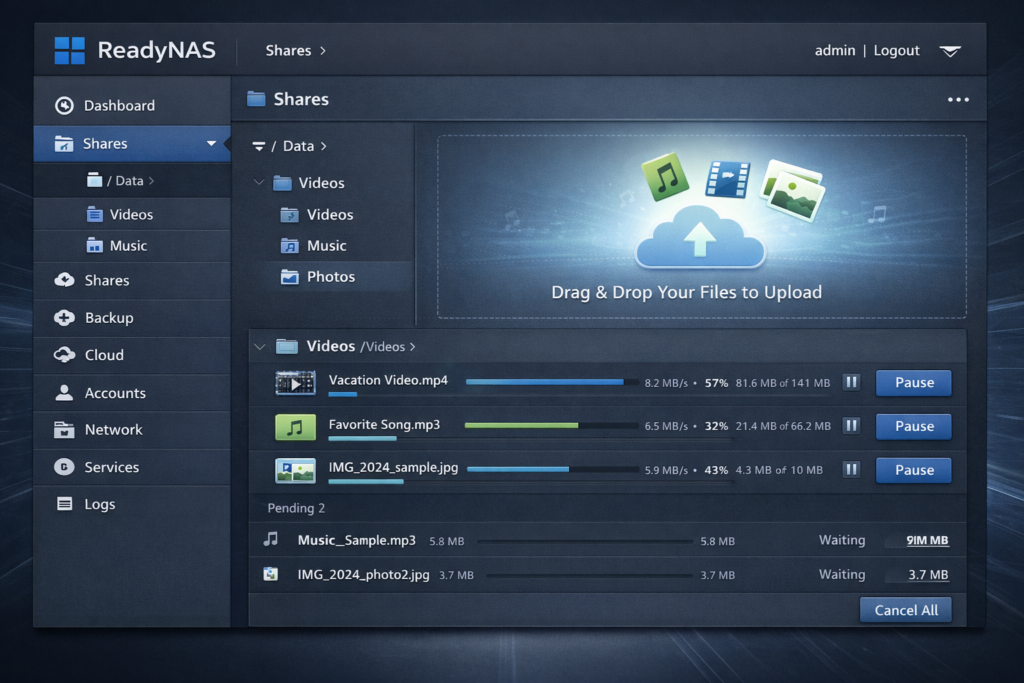
- Uploading via the web interface
Log in to the ReadyNAS dashboard, open the desired share, and upload files directly through your browser. This method works well for smaller batches of media. - Mapping ReadyNAS as a network drive
Map the ReadyNAS share on your computer using its network path (for example, \\ReadyNAS-IP\share). This allows you to drag and drop files just like a local folder and is ideal for large media libraries. - Using ReadyCLOUD sync apps
ReadyCLOUD apps let you sync or copy files from your computer to ReadyNAS shares automatically. This is useful for ongoing media backups or remote file transfers.
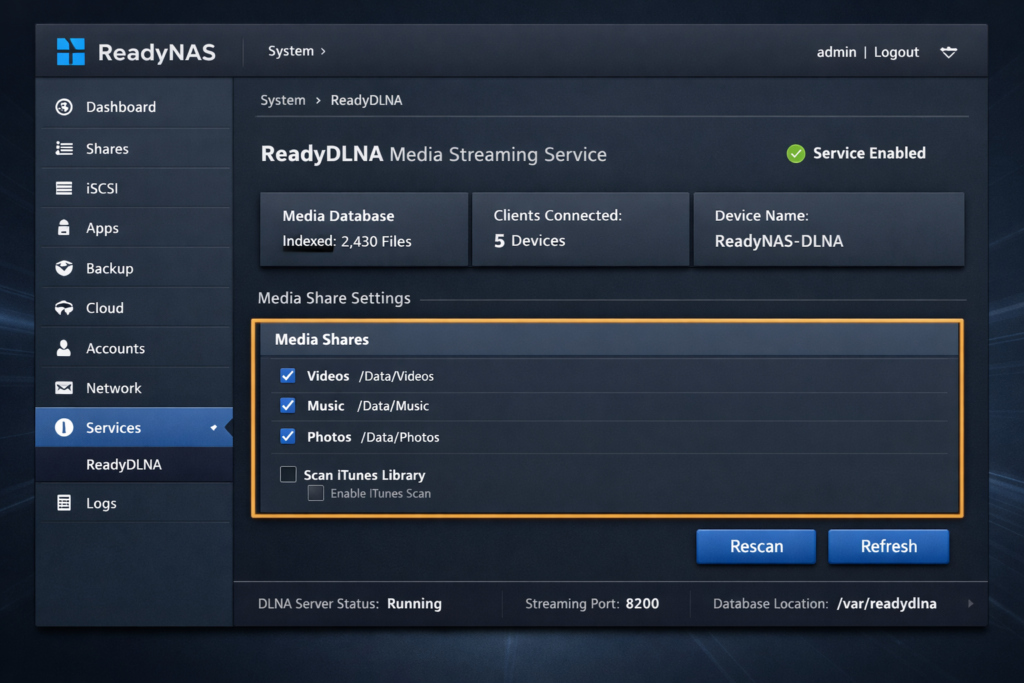
6. How to Configure Shares for ReadyDLNA Scanning
Adding files alone is not enough ReadyDLNA must be told which shares to scan and what type of media to index.
Start by opening the ReadyDLNA settings from the ReadyNAS admin panel under Services > ReadyDLNA > Settings.
Within the settings, locate the list of available shares and enable the specific folders that contain your media. Default shares are often enabled automatically, but custom shares must be selected manually.
Next, choose the allowed media types for each share, such as video, audio, or pictures. This helps ReadyDLNA categorize content correctly and improves browsing on DLNA devices.
Once everything is configured, apply the changes to save your settings. ReadyDLNA will now be ready to scan these shares and prepare the media for streaming.
7. How to Rescan the ReadyDLNA Media Library
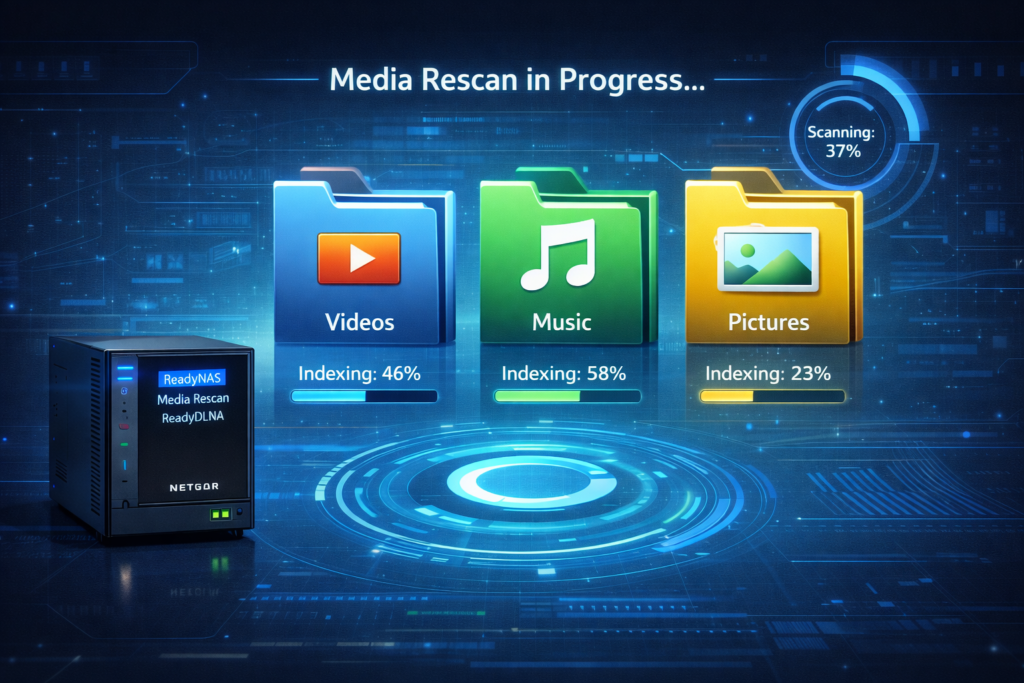
After adding or organizing files, ReadyDLNA may not always display new content immediately. This is where rescanning becomes essential.
Why Rescanning Is Necessary
ReadyDLNA builds a media index based on the files it has already scanned. When new files are added or folders are changed, the index needs to be updated so DLNA devices can see the latest content. Without a rescan, recently added media may not appear at all.
Using Rescan or Refresh Options
To update the media library, open the ReadyDLNA settings from the ReadyNAS admin dashboard. Look for the Rescan or Refresh option and initiate it. This forces ReadyDLNA to re-index enabled shares and immediately include newly added files.
How Subfolders Are Indexed
ReadyDLNA scans folders recursively, meaning all files inside subfolders are included automatically. Whether your media is one level deep or organized into multiple subfolders, it will be indexed as long as the parent share is enabled.
When Manual Rescans Are Required
Manual rescans are recommended after:
- Adding a large number of files
- Creating new subfolders inside media shares
- Renaming or moving media files
- Adding new custom shares
In these cases, triggering a rescan ensures everything appears correctly across DLNA clients.
8. Verifying Files on DLNA Devices
Once the media library is updated, the final step is confirming that your files are visible on your streaming devices.
Checking Visibility on Smart TVs
On your Smart TV, open the media or DLNA browser and select your ReadyNAS from the available servers. Browse by video, music, or pictures to confirm your files appear and play correctly.
Checking on Xbox and Consoles
On Xbox or other DLNA-enabled consoles, access the media player or network media section. The ReadyNAS should appear as a media source, allowing you to browse and stream content directly.
Checking on Mobile DLNA Apps
Open your preferred DLNA-compatible mobile app and select the ReadyNAS server. Verify that media categories load correctly and that newly added files are visible.
Common Delay Expectations
In some cases, there may be a short delay before files appear on all devices, especially after large uploads. If content doesn’t show up immediately, refreshing the DLNA client or restarting the app usually resolves the issue.
9. Common Issues When Adding Files to ReadyDLNA
Even when everything appears to be set up correctly, ReadyDLNA can occasionally behave in unexpected ways. Most issues are related to scanning, folder configuration, or file structure rather than the files themselves.
Files Not Appearing After Upload
One of the most common problems is media files not showing up after being copied to a share. This usually happens when the share is not enabled in ReadyDLNA settings or when a rescan has not been triggered. Until ReadyDLNA updates its index, new files remain invisible to DLNA clients.
Missing Folders or Incomplete Scans
Sometimes only part of a media library appears, even though all files are present on the ReadyNAS. This can occur if the scan was interrupted or if newly created folders were added after the last index update. In such cases, ReadyDLNA may recognize some directories while skipping others.
Empty Folders Showing on DLNA Clients
DLNA devices may display folder names without showing any files inside them. This often happens when folders contain unsupported media formats or when files have not been indexed yet. The folders exist, but ReadyDLNA has nothing valid to display within them.
Media Format or Naming Issues
ReadyDLNA only indexes supported media types. Files with uncommon formats, unusual extensions, or problematic naming conventions may be skipped entirely. Special characters, extremely long filenames, or inconsistent extensions can also prevent proper indexing.
10. Troubleshooting Tips for ReadyDLNA Media Indexing
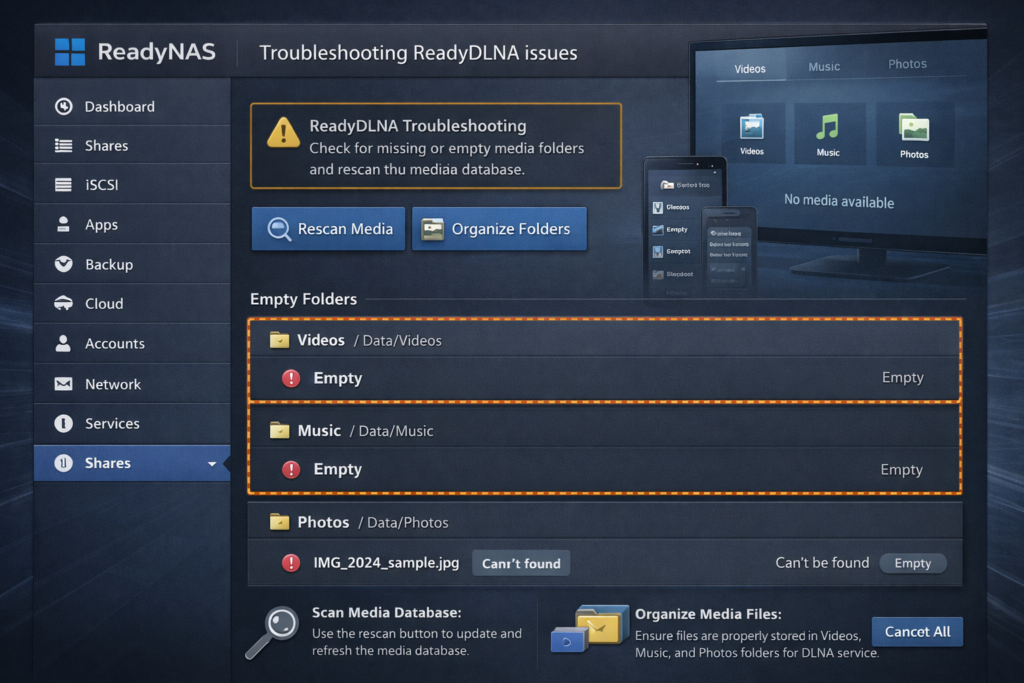
When media does not appear as expected, a few targeted actions can usually resolve the issue without resetting your entire setup.
When to Restart the Service
Restarting the ReadyDLNA service is useful when scans fail, files stop appearing, or the service becomes unresponsive. A restart clears temporary states and forces ReadyDLNA to reload enabled shares.
When to Rescan Manually
Manual rescans are best after adding large batches of files, creating new folders, or modifying existing directory structures. If changes don’t reflect within a reasonable time, a rescan ensures the index stays up to date.
Folder Structure Best Practices
Keep media folders simple and organized. Separate content by type videos, music, and pictures and use clear naming conventions. Consistent organization helps ReadyDLNA scan faster and improves how content is displayed on DLNA devices.
Avoiding Overly Complex Directory Trees
Deeply nested folders can slow down indexing or cause partial scans. While subfolders are supported, avoid unnecessary layers. A clean, shallow directory structure improves scan reliability and ensures smoother media browsing across all DLNA clients.
11. Helpful ReadyDLNA Resources and Guides
If you want to go deeper or troubleshoot specific scenarios, the following resources provide additional clarity and real-world examples from NETGEAR and the ReadyNAS community:
- Official setup video
Watch how to enable ReadyDLNA step-by-step:
▶️ https://www.youtube.com/watch?v=t7to_B0TuCo - Streaming demo video
See ReadyDLNA in action as media is streamed to devices:
▶️ https://www.youtube.com/watch?v=x75Y0BGArok - NETGEAR community troubleshooting threads
Real discussions on ReadyDLNA not finding all files, missing folders, and scan issues:
🔗 https://community.netgear.com/discussions/readynas-use/readydlna-does-not-find-all-files-dirs-files-missing/903290 - Forum discussions and basics
General DLNA and ReadyNAS topics to help with structure and troubleshooting:
🔗 https://www.gargoyle-router.com/phpbb/viewtopic.php?t=7258
These links can help you visualize steps, explore solutions from other users, and deepen your understanding of how ReadyDLNA behaves in real environments.
12. Related ReadyDLNA Guides
Here are useful companion guides to expand your ReadyDLNA skills and solve specific challenges:
- How to enable ReadyDLNA on a ReadyNAS device – covers initial activation and settings
- How to add an external USB drive for DLNA media – add even more storage
- How to rescan the ReadyDLNA library after adding files – ensure new content shows up
- Which folders ReadyDLNA indexes by default – know what’s scanned automatically
- How to fix empty folders in DLNA clients on Windows – common client-side visibility fixes
(If you’d like, I can turn each of these into full clickable links with summaries too.)
13. Final Thoughts
Adding files to ReadyDLNA is a simple concept but flawless execution makes all the difference. Enable the service, add media to the right shares, configure scanning, and force a rescan when changes are made. Do this, and your media library will reliably show up on Smart TVs, consoles, and mobile DLNA apps.
Best practices for smooth streaming
- Keep your media folders organized and intuitive
- Use widely supported file formats
- Avoid deep, overly complex folder trees
- Trigger manual rescans after major changes
With a clean setup and a bit of structure, ReadyDLNA becomes a powerful way to centralize and stream your entire media collection effortlessly and beautifully.
Frequently Asked Questions (FAQ)
1. Why are my files not showing up in ReadyDLNA after I upload them?
This usually happens because ReadyDLNA hasn’t rescanned the media library yet or the share containing the files is not enabled for DLNA scanning. Make sure the correct share is selected in ReadyDLNA settings and run a manual rescan to update the index.
2. Which folders does ReadyDLNA scan by default?
ReadyDLNA typically scans default media shares such as Music, Pictures, and Videos. Any custom shares must be manually enabled in the ReadyDLNA settings before they will be indexed and visible on DLNA devices.
3. Do I need to rescan ReadyDLNA every time I add new files?
Not always, but it’s recommended after adding a large number of files, creating new folders, or reorganizing your media library. A rescan ensures all new content appears promptly on connected DLNA clients.
4. Why do empty folders appear on my TV or DLNA app?
Empty folders usually indicate that the folder contains unsupported media formats or files that haven’t been indexed yet. Once supported media is added and a rescan is completed, the folders should display content correctly.
5. Can ReadyDLNA stream media to multiple devices at the same time?
Yes, ReadyDLNA can stream media to multiple DLNA-compatible devices simultaneously, as long as they are connected to the same network and the ReadyNAS hardware and network bandwidth can handle the load.


