
-
- No Comments
- December 19, 2025
How to do screen print transfers
1. Introduction
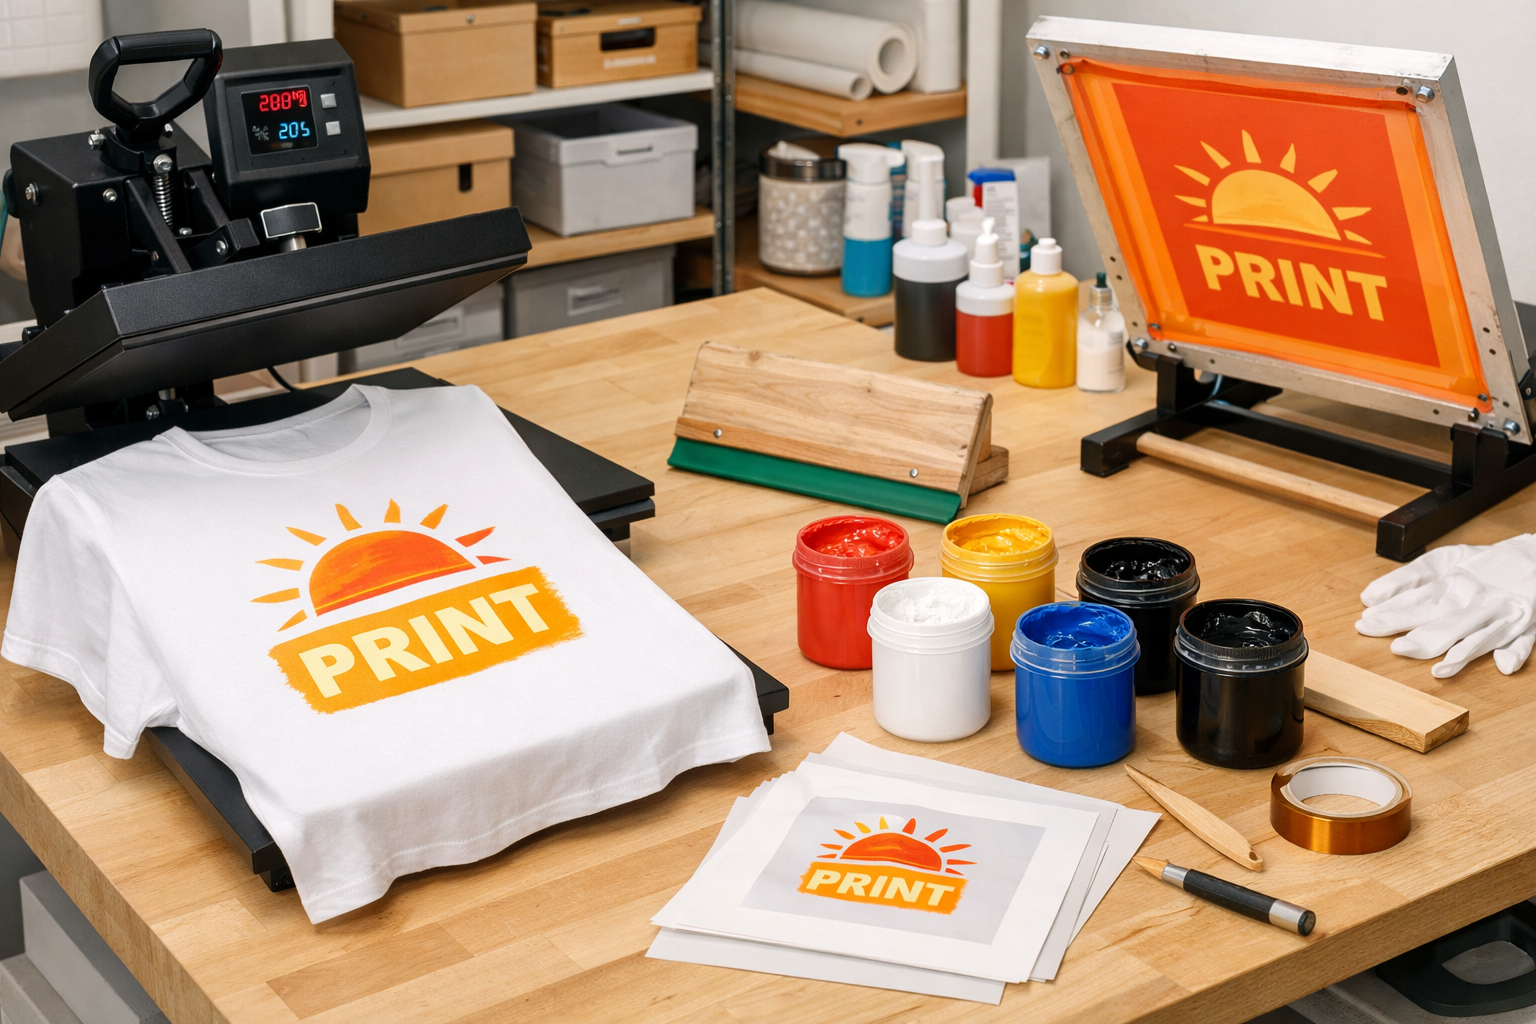
Imagine creating vibrant, custom t-shirts, hoodies, or tote bags without investing in a full-scale screen printing setup. That’s the magic of screen print transfers a method that empowers DIY creators, small businesses, and hobbyists to produce professional-quality designs on demand.
Screen print transfers work by printing your design onto special transfer paper using plastisol ink, then heat-pressing it onto fabric for a clean, durable finish. This approach means you don’t need a full studio or massive equipment just the essentials, a little patience, and creativity.
In this guide, you’ll learn everything you need to create your own screen print transfers from scratch: the must-have supplies, a step-by-step printing process, tips for pressing your transfers perfectly, and simple troubleshooting strategies to avoid common pitfalls. By the end, you’ll have the confidence to bring your designs to life, one shirt at a time.
2. What Are Screen Print Transfers?
At its core, a screen print transfer is a design printed with plastisol ink onto special transfer paper, gelling it just enough to stick, and then applying it to fabric using a heat press. The result? A vivid, durable print that looks and feels like traditional screen printing—without needing a full printing setup.
Direct Screen Printing vs. Transfers
- Direct Screen Printing: Ink is pushed directly onto the fabric through a screen stencil. Requires screens for each design, a large workspace, and careful setup. Ideal for large batches.
- Screen Print Transfers: Ink is printed on transfer paper first and applied later. Flexible, portable, and perfect for small batches or one-off projects.
When Transfers Are Ideal
- You’re just starting your DIY apparel business and want to keep costs low.
- Your workspace is limited, and a full screen printing setup isn’t feasible.
- You need on-demand custom apparel, like personalized gifts or small-run merchandise.
💡 Visual Suggestion: Include a simple diagram comparing direct screen printing vs. transfer method. Show “Design → Screen → Ink → Fabric” for direct, and “Design → Screen → Transfer Paper → Heat Press → Fabric” for transfers. This instantly clarifies the workflow for beginners.
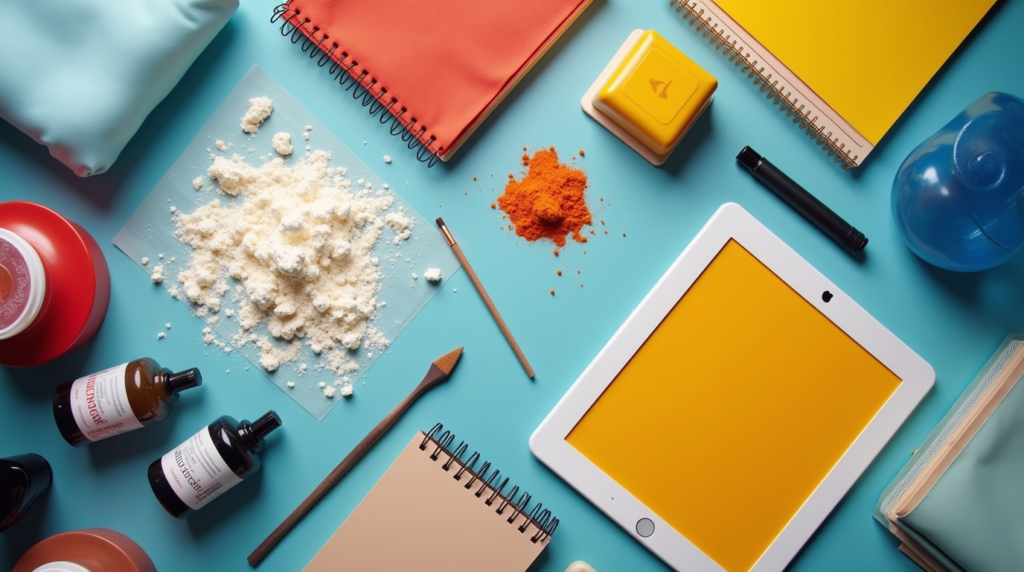
3. Essential Supplies for DIY Screen Print Transfers
Before you start printing, having the right supplies is crucial. Using the correct materials not only ensures a professional-looking transfer but also saves you from common beginner mistakes.
Plastisol Ink
Plastisol ink is the backbone of screen print transfers. It’s PVC-based, vibrant, and durable, creating that classic screen-printed look. Avoid water-based inks like Speedball they don’t adhere well to transfer paper and can smear during pressing.
Transfer Paper
Transfer paper is where your design comes to life before hitting the fabric. There are two main types:
- Hot-Peel Paper: Best for beginners. Peel immediately after pressing while the ink is still hot for a smooth finish.
- Cold-Peel Paper: Needs to cool before peeling; ideal for multi-color designs where alignment is critical.
Adhesive Powder
Optional but highly recommended. Sprinkling adhesive powder over wet ink improves adhesion to the fabric, especially for tricky materials or textured surfaces.
Screens
Use pre-coated, laser-engravable screens. These allow you to create crisp stencils without manually coating emulsion, saving time and reducing errors.
Essential Tools
- Squeegee: For evenly spreading ink across the screen.
- Flash or Conveyor Dryer: Helps gel the ink without fully curing it, preparing it for transfer.
- Heat Press: Transfers your design onto fabric with consistent heat and pressure.
💡 Where to Source Supplies:
- Online retailers: Texsource, ScreenPrinting.com, Amazon
- Local craft stores for smaller items like squeegees and adhesive powder
- Specialized screen printing suppliers for pre-coated screens and transfer paper
4. Preparing Your Design
A great transfer starts with a well-prepared design. Here’s how beginners can set up their artwork efficiently:
Creating or Mirroring Artwork
- Use software like Adobe Illustrator to create your design.
- Remember to mirror the image—this ensures the design prints correctly when pressed onto fabric.
Tips for Beginners
- Size: Keep your design within the printable area of your transfer paper.
- Color Separation: For multi-color designs, separate each color into layers. This makes registration easier and prevents colors from blending incorrectly.
Preparing Transparency Film or Screen
- Print your mirrored design onto a transparency film.
- For pre-coated screens, place the film on the screen and expose it to UV light to create your stencil. Wash out the unexposed emulsion to reveal your design.
💡 Visual Suggestion: Include a simple “Design → Screen Preparation” workflow graphic showing:
- Create design in Illustrator →
- Mirror and print on transparency →
- Place on pre-coated screen →
- Expose and wash stencil → Ready to print
5. Step-by-Step Process to Create Screen Print Transfers
Creating a screen print transfer may seem complex at first, but breaking it down step by step makes it approachable—even for beginners. Follow these instructions carefully for the best results.
Step 1: Design & Prepare the Screen
- Coat your screen with emulsion evenly to avoid streaks or bubbles.
- Place your mirrored transparency on the screen and expose it to UV light for the recommended time.
- Wash out the unexposed emulsion to reveal your stencil.
- 💡 Tip: Ensure your workspace is clean and dust-free tiny particles can ruin your stencil.
Step 2: Printing the Ink
- Lay your transfer paper flat on a platen or work surface.
- Flood the screen with plastisol ink using a squeegee, ensuring even coverage.
- Pull the squeegee across the screen with controlled, consistent pressure to avoid ink bleeding.
- 💡 Tip: Test a small print first to make sure the ink isn’t too thick or too thin.
Step 3: Applying Adhesive Powder
- Sprinkle adhesive powder evenly over the wet ink.
- Shake off the excess gently to leave a thin, uniform layer.
- 💡 Tip: Too much powder can create a gritty texture; too little reduces adhesion.
Step 4: Gelling the Ink
- Use a flash dryer or conveyor to gel the ink without fully curing it.
- Maintain a temperature range of 200–280°F until the ink is tacky and the adhesive bonds.
- 💡 Tip: Avoid fully curing at this stage; the goal is tackiness, not a permanent cure.
Step 5: Storing or Pressing the Transfer
- If not pressing immediately, weed your transfer and store flat to prevent curling or smudging.
- When ready, prep for heat pressing.
- 💡 Tip: Common mistakes include uneven ink layers or smudging ensure even squeegee pressure and proper gelling for the cleanest results.
6. Pressing Your Transfers Onto Fabric
The final step brings your design to life on fabric. Proper technique ensures a smooth, professional finish.
Preheat & Prep
- Preheat the garment for a few seconds to remove wrinkles and moisture.
- Position the transfer face-down on the fabric and cover with a Teflon sheet to protect the design.
Heat Press Settings
- Temperature: 330°F (165°C)
- Time: 10 seconds
- Pressure: Medium, firm enough to ensure adhesion but not flatten the fabric texture
Peeling the Transfer
- Hot Peel: Remove the transfer immediately after pressing for smooth results.
- Works well on t-shirts, hoodies, hats, and tote bags.
💡 Optional Visuals:
- Photo sequence showing each pressing step.
- Short video clip demonstrating hot-peel technique for beginners.
7. Troubleshooting Common Issues
Even the best-prepared beginners can run into hiccups when creating screen print transfers. Here’s how to tackle the most common problems:
Ink Bleeding or Uneven Adhesion
- Cause: Too much ink, inconsistent squeegee pressure, or improperly gelling the ink.
- Fix: Apply thinner layers, maintain steady squeegee pressure, and ensure the ink is properly gelled before pressing.
Transfers Not Sticking or Peeling Too Soon
- Cause: Insufficient adhesive powder, incorrect press temperature, or peeling too late/early.
- Fix: Sprinkle a uniform layer of adhesive powder, preheat the garment, press at 330°F for 10 seconds, and peel immediately for hot-peel papers.
Color Registration and Layering Multiple Colors
- Cause: Misaligned screens or inconsistent ink layers when printing multi-color designs.
- Fix: Use registration marks on your transfer paper, press one color at a time, and double-check alignment before pressing the final layers.
💡 Quick Fixes for Beginners:
- Always test a small print before committing to a full batch.
- Keep your workspace dust-free to avoid imperfections.
- Store transfers flat to prevent curling or smudging before pressing.
8. Helpful Resources & Further Learning
For deeper insights, step-by-step demonstrations, and multi-color techniques, check out these trusted resources:
- Pigskins & Pigtails Tutorial – Beginner-friendly screen print transfers guide.
- xTool Screen Print Guide – Detailed overview of tools and techniques.
- Mylo Prints Beginner Tutorial – Step-by-step YouTube tutorial for DIY transfers.
- Texsource Full Process Video – Full workflow from design to pressing.
- ScreenPrinting.com Multi-Color Guide – Comprehensive guide for color separation and registration.
💡 Tip: Bookmark these resources they’ll become invaluable as you refine your skills and tackle more complex designs.
9. Conclusion / Next Steps
Mastering screen print transfers opens up a world of creative possibilities. From personalized t-shirts and hoodies to custom tote bags, this method allows DIY creators and small business owners to produce professional-quality designs without investing in a full-scale printing setup.
Now that you’ve learned the essential supplies, step-by-step process, pressing techniques, and troubleshooting tips, it’s time to try your first DIY transfer project. Start small, experiment with colors, and don’t be afraid to make mistakes—they’re part of the learning process.
💡 Next Steps:
- Explore more detailed tutorials to refine your skills: Pigskins & Pigtails Tutorial, Mylo Prints Beginner Tutorial
- Stock up on recommended supplies: ScreenPrinting.com Supplies or Texsource Screen Printing Tools
Take your creativity from concept to fabric and bring your custom designs to life one print at a time!
FAQ: Screen Print Transfers
1. Which transfer method should I start with as a beginner?
Start with hot-peel plastisol transfers. They are easier to handle, peel immediately after pressing, and give clean, vibrant results without complex multi-color setups.
2. Can I use water-based inks for transfers?
Water-based inks are not recommended for transfer paper. Plastisol ink works best because it adheres properly and produces a durable, professional finish.
3. How should I store transfers before pressing?
Store transfers flat in a clean, dry place to prevent curling or smudging. Avoid stacking heavy items on top, and use a protective sheet if necessary.
4. What fabrics work best for screen print transfers?
Transfers work well on cotton, cotton blends, hoodies, tote bags, and even some hats. Avoid heavily textured or stretchy fabrics that may affect adhesion.
5. How do I avoid common mistakes like smudging or uneven prints?
- Apply even squeegee pressure when printing ink.
- Use the correct flash temperature to gel the ink.
- Ensure adhesive powder is evenly applied.
- Always preheat the garment and peel transfers hot for smooth results.


